
Curing and drying your weed properly is essential for producing a smooth and flavorful smoking experience. Here’s a step-by-step guide on how to cure and dry your weed with https://dankbros.net:
Curing and Dry Weed Guide
- Harvest your weed: The first step in curing and drying your weed is to harvest your plants. Cut your plants at the base and remove all large leaves.
- Dry your weed: Hang your buds upside down in a cool, dark, and well-ventilated area. Use a fan to circulate the air and ensure that the buds are evenly dried. The drying process can take up to two weeks, depending on the humidity and temperature of your drying area.
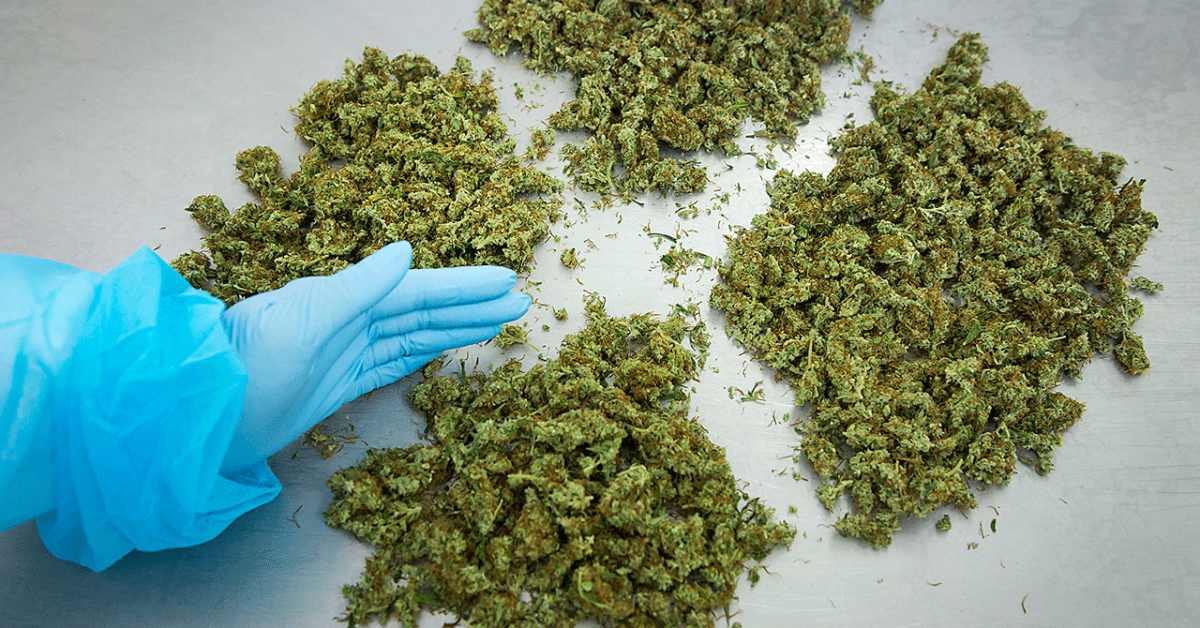
- Trim your weed: Once your buds are dry, trim off any remaining leaves and stems using sharp scissors. This will help to improve the overall quality and appearance of your buds.
- Cure your weed: Place your trimmed buds in airtight glass jars and store them in a cool, dark place with a humidity level of around 60-65%. Open the jars once a day for the first week to release any excess moisture, and then gradually decrease the frequency of opening the jars to once a week over the next few weeks.
- Test your weed: After a few weeks of curing, test your weed to see if it’s ready. The buds should be slightly springy and should burn evenly when smoked. If your weed is still too moist or difficult to smoke, continue to cure it for a few more days or weeks.
- Store your weed: Once your weed is properly cured, store it in an airtight container in a cool, dark place. This will help to preserve its flavor and potency over time.
By following these steps, you can ensure that your weed is properly cured and dried, resulting in a smooth and enjoyable smoking experience.